

To set up the FileForms integration, you will need Admin access in Karbon to generate your connection token, and an active FileForms account. Don’t have one yet? Create your account here before proceeding.
Log in to your Karbon account as an Administrator. In the left-hand menu, click on Settings, then select Connected Apps.

Scroll through the connected apps until you find the FileForms tile. Click the Manage button (or Connect if this is your first time).
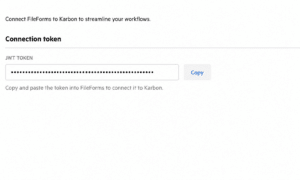
In the connection screen, look for the Connection Token section. Click the Copy button next to your JWT Token.
⚠️ Keep this token secure and do not share it outside of your organization.
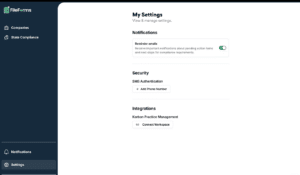
Switch over to your FileForms account. Navigate to Settings and click Connect Workspace under Karbon Practice Management.
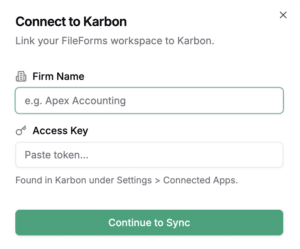
A setup window will appear. Enter your Firm Name, paste the Connection Token you copied from Karbon into the designated field, and click Connect.
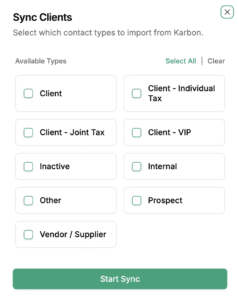
Immediately after connecting, the Sync Clients window will automatically pop up. Check the boxes next to the specific Karbon contact types you want to import (e.g., Client, Client – Individual Tax, Prospect).
Once you have selected your desired contact types, click the Start Sync button at the bottom of the window. FileForms will begin importing your clients!